Showing posts with label windows. Show all posts

Sunday, March 18, 2018

The Front Bedroom (aka the Temporary TV Room)

When we decided that we were going to make the house livable for reconstruction, we agreed on a list of things we needed in order to get by:
  • a functioning bathroom,
  • a bedroom,
  • a functioning laundry system,
  • a place to unwind after long days, and
  • a way to feed ourselves without going out every day.
We have successfully created the first two.  The third is technically already in place, since the previous owners left their washer and dryer.  We just cleaned them and made sure they worked (and were safe to use).  The washing machine is in the basement for now while the dryer resides in the first-floor laundry room, but that will change once we shore up the floors.  Since we've already been working on the second floor and only had one unfinished room, it seemed logical to move on to the next item on the list.

This is what the room looked like before we got our hands on it.

The whole room as seen from the southeast corner.


The window makes me sad.  A child obviously occupied this room.  Said child used dry erase markers to draw on the window.  By itself, this fact is not sad; however, coupled with the fact that the coloring took place after the window had been cracked, as evidenced by the marker lines tracing along the cracks ... It just breaks my heart.

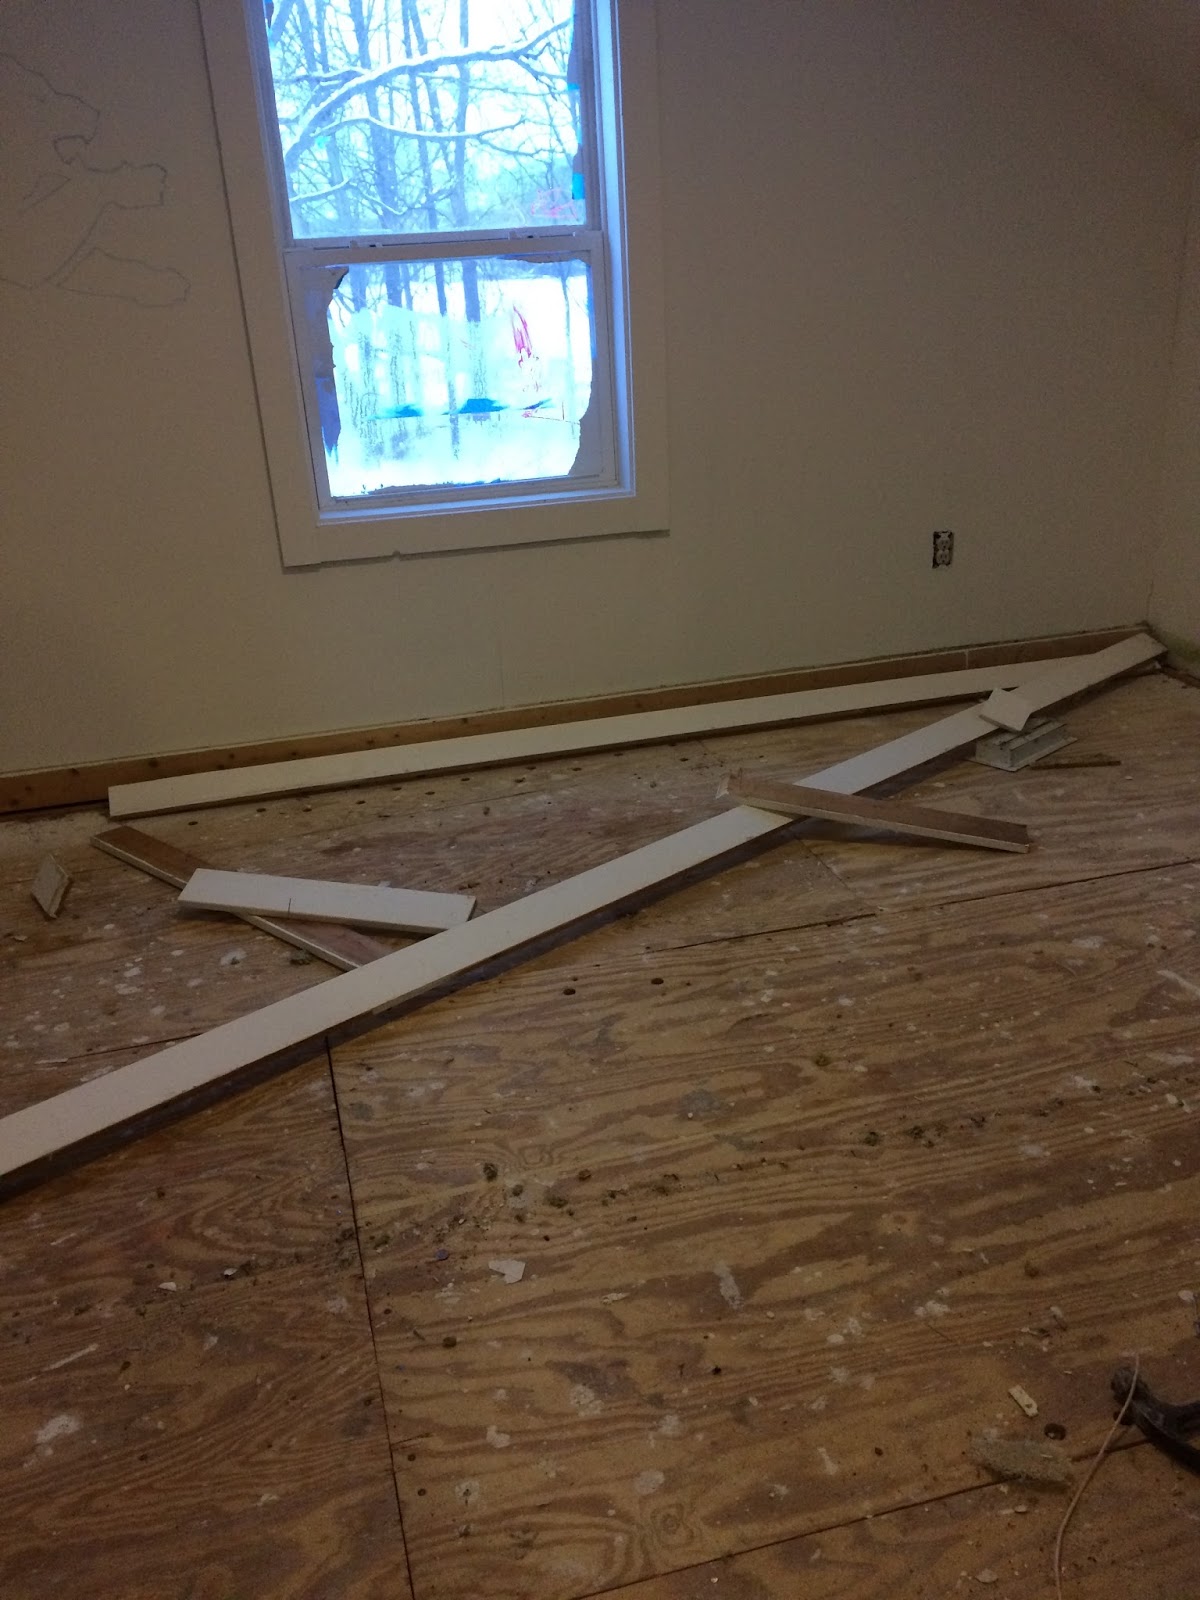
The first thing I did was to clean the window (way back on 2018-02-10).  Meanwhile, the hubs removed the baseboards so we could get the rest of the carpet bits removed.  Then it was time to prime (2018-03-17).  Say "goodbye," Mr. Lion!


Yes, I ended up wearing a fair amount of the primer.  This was the first time I did the ceiling.  (The hubs has handled that aspect in the earlier tasks.)  Turns out that standing under the roller is not a great idea.  Also, for those who wonder, oil-based primer does not simply wash off the skin as does latex primer and paint.  You either need a solvent (no thank you), or you have to wait for it to wear off over time.  I was speckled for a while.  Not like I didn't already have more than my fair share of spots. (;

Also of note, since we were out of ceiling paint, I had to get more, but this time I splurged on the color-changing kind.  Totally worth the extra money!  It made it so much easier when I was putting on the second coat to see where I'd actually painted!


And then the hubs primed the floor.


Next up was the paint (2018-03-18).  After the success with the paint in the landing, I decided to go for another Oops can.  This time, the hubs wasn't completely sold when I opened the can, but since he'd agreed to try out anything I picked (based on the safety-net assumption that we'll need to repaint after we level the downstairs), he let me get to work.  Once it was on the walls, he changed his tune.  We may need to replicate this one.  It's beautimous!


Insider tip: make sure the primer is dry before walking on it.  Good thing we're carpeting. (;


Saturday, February 10, 2018

Saturday!

Saturdays mean the hubs is putting in time at the house, too, so I will have company and help if needed.  Sometimes it means his friend will be coming to help, too.  This was the case today.

First thing this morning, I did something I should have done at the beginning of the week.  I cut a pool noodle in half and cut a slit up the side ... and I covered the copped pipes for the kitchen sink.  I cannot tell you how many times I walked into them before doing this!  So many bruises.


Today we scrubbed the upstairs bathroom down with hot bleach water.  It's still not awesome, but it's far better than it was.  Added bonus, I don't feel dirty just from walking in there.  To give you an idea of what we were dealing with, this is a shot of the mirror wall after we took down the mirror, so you can see the color the walls were before they were nasty.


This is after we cleaned, and by "we," I mostly mean the hubs.  While he was busy doing this (because he could reach all the way to the top), I was pulling carpet staples from the floors in the bedrooms.  Those buggers are stubborn.
 
 
I also scraped and cleaned the windows in the bedrooms.  The front one was the most difficult, as it is broken.  It appears that a child drew on it with a dry erase marker after it was broken.  Some of the drawing lines followed the cracks in the glass. Scary.


Still, it felt good to have it clean.
 

Saturday, February 3, 2018

Kitchen Demolition, or How I Spent My Saturday

We knew going in that we wanted to make some changes to the kitchen.  We also knew it needed to be thoroughly cleaned, like bathed in PineSol, but ... We didn't know we were going to take everything completely out until that was what we were doing.  We also didn't know that doing so was going to be a very good thing for us (more on that later).

So, it started out like this ...


We have very typical 80's era wood cabinets, cracked formica countertops, and some sketchy linoleum flooring tiles.  Right away, we knew we wanted to take out the soffits and raise the upper cabinets to ceiling height.  Neither of us is a fan of the wasted space, and we know it will open up the counter space.  So, it stood to reason that the upper cabinets would need to be taken down off the walls.

What we didn't know until I was cleaning the countertops on Monday is that the base cabinets would also be coming out.  See, there's a gap between the countertops and the walls that has allowed things to fall down in the space between the cabinets and the walls.  I noticed this phenomenon when I accidentally sprayed some of the detritus from the countertop into the void on Monday afternoon.  We decided that needing to remove the lower cabinets was a good thing, as it would allow us easy access to the flooring.  We also decided we would clean up the cabinets and prime and paint them before reinstalling them.

Before we removed the cabinets, we took out the stinky, science experiment-filled refrigerator.  That immediately improved the air quality inside the house.  It also gave us a little bit of additional floor space.  (I guess I should have swept before I took the picture, not after.  Oh, well.)


Next, we labeled the cabinet doors and drawers with painters tape, so we'll know where they all go when it's time to put everything back together again.


I decided to just count the cabinets from left to right, and label the doors as left/right and upper/lower, hence L1U and R1U in these photos for the left and right doors for the first of the upper cabinets.  I suggest using whatever method works best for you.  After everything was labeled, my husband removed all of the cabinet doors.  We started with the upper cabinets.


Next, we took down the cabinets themselves.  Ours were held up by a handful of screws that were driven directly through the cabinets backs and into the studs.


Once the screws were removed, gravity jumped in to assist.


The trim was not actually attached to the cabinets, but was nailed into the soffits with brad nails.  As a result, we were able to pull them down by hand.  The additional boards behind some of the cabinets appear to have been used for spacing.  We used the claw side of the hammer to pull those down without incident.  The rest of the cabinets came down just as easily as the first with one exception.  Turns out in one cabinet, the people who installed them decided to also drive screws in through the side of the cabinet into the adjoining one.  I later learned that you're actually supposed to connect the cabinets to make sure everything stays together.  Still, they came down very easily.


For the base cabinets, we had assistance from one of my husband's friends.  This made it possible for me to take photos during the process instead of making my husband stop every couple of minutes for me.


And this was when we discovered that there were more than two layers of flooring on top of the original hardwood.  Here we can see the linoleum tile (bottom of pic), the layer of linoleum directly beneath that (top left of pic), and the layer of linoleum under that (top right of pic), but wait ... What's that on the far right?


Could it be?  Why yes, there's another layer of linoleum under a plywood layer.  And that layer was on top of some weird paper board layer that was adhered to the original wood floor with tar.  (We didn't get to the tar layer until later in the day, but why keep you waiting?)


Next, the fellas removed the kitchen sink and counter top (all as one piece ... I was impressed) and removed the false front on the cabinet, so they could pull the entire base.  This required a bit of sawing to make a large enough hole for the pipes to fit easily through the "floor" of the cabinet.  The previous owners left the inside pretty gross, so we will be replacing the cabinet floor anyway.


And viola! The kitchen is free of those cumbersome cabinets (though the front rooms have gained them).  Also, I have a lot of cleaning to do.